Discover how to frame a basement wall against concrete with this comprehensive guide. Learn step-by-step techniques and expert tips to ensure a sturdy and efficient construction process.
From choosing the right materials to properly aligning and securing the framing, this article provides you with the knowledge to successfully frame your basement wall. Get started on your basement renovation project today!
Understanding the Importance of Framing a Basement Wall
Framing a basement wall is essential for several reasons. Firstly, it provides a sturdy structure that supports the weight of the ceiling and any additional loads above. Secondly, it creates a space for insulation, which helps regulate temperature and improve energy efficiency.
Lastly, framing allows for the installation of electrical wiring, outlets, and switches, making the basement functional and safe.
Preparing for the Framing Process
Before you begin framing, it’s crucial to prepare the area properly. Clear out any debris or obstructions, and ensure that the basement floor is clean and level.
It’s also essential to address any moisture or water issues, as a dry basement is essential for successful framing and prevents potential damage to the structure.
Gathering the Necessary Tools and Materials
To frame a basement wall, you’ll need the following tools and materials:

- Tape measure
- Level
- Chalk line
- Circular saw
- Framing nailer
- Hammer
- Concrete drill
- Masonry screws
- Pressure-treated lumber
- 2×4 studs
- Bottom and top plates
- Insulation
- Drywall
- Electrical supplies (outlets, switches, wiring)
- Having these tools and materials readily available will make the framing process more efficient.
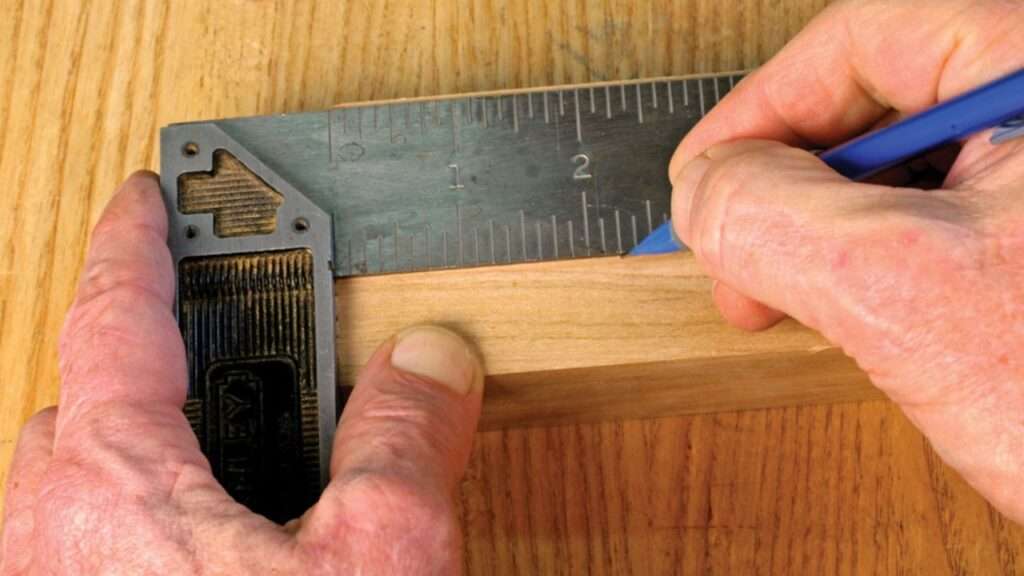
Marking the Layout and Measuring the Wall
To ensure accurate framing, it’s essential to mark the layout and measure the wall properly. Begin by snapping a chalk line along the floor where the wall will be placed. Measure and mark the location of the studs, doorways, and electrical outlets on the bottom plate, ensuring they align with your basement layout and any building codes or regulations.
Installing the Bottom Plate
The bottom plate is the starting point for framing the wall. Cut the pressure-treated lumber to the desired length and align it with the chalk line on the basement floor. Use a concrete drill and masonry screws to secure the bottom plate to the concrete floor. Ensure it is level and securely anchored.
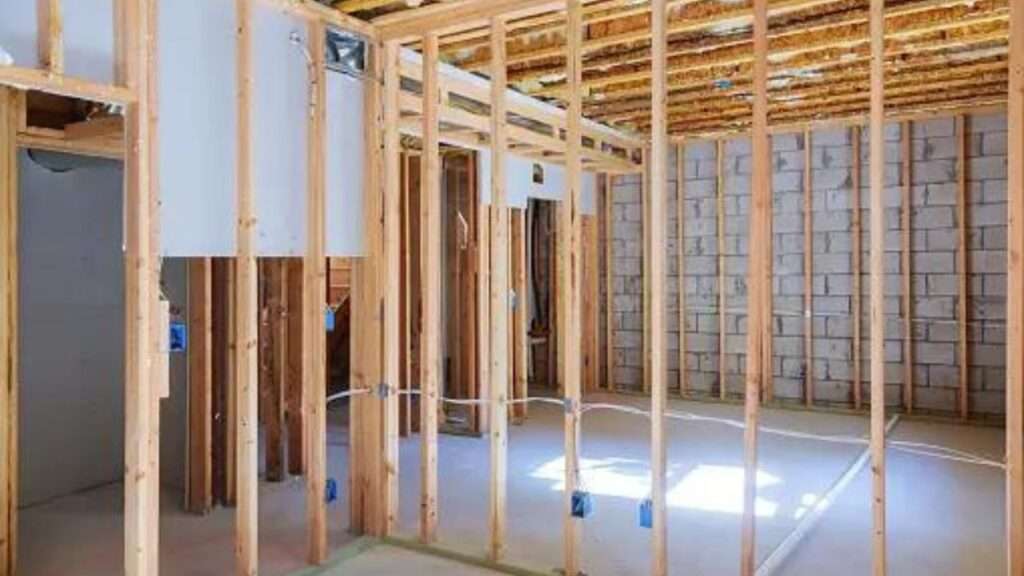
Framing the Studs and Header
Once the bottom plate is in place, it’s time to frame the studs and header. Measure and cut the 2×4 studs to the appropriate height, leaving space for the top plate. Install the studs vertically, spacing them according to your design and local building codes. Additionally, install a header at the top of the wall to provide additional support.
Securing the Top Plate
After the studs and header are in place, attach the top plate to the ceiling joists using framing nails or screws. Ensure the top plate is level and securely fastened. This step completes the framing of the wall.
Insulating the Wall | Basement Insulation
Insulating the basement wall is essential for energy efficiency and climate control. Install insulation between the studs, following the manufacturer’s instructions. This will help regulate the temperature in the basement and reduce energy costs.
Installing Electrical Outlets and Switches
Before adding drywall, it’s crucial to install electrical outlets and switches in the framed wall. Consult an electrician or follow local electrical codes to ensure proper installation. This step should be done by a qualified professional to ensure safety and compliance.
Adding Drywall and Finishing Touches
Once the electrical work is complete, you can add drywall to the framed wall. Cut the drywall panels to size and attach them to the studs using drywall screws or nails. Apply joint compound, sand, and paint the drywall to finish the wall. You can also add baseboards and trim for a polished look.
How Do You Secure a Basement Wall To Concrete?
Securing a basement wall to concrete involves several steps to ensure stability and prevent damage. The process typically includes the following:
- Preparation: Clean the concrete surface thoroughly, removing any dirt, debris, or loose materials. Repair any cracks or damages in the concrete.
- Marking and drilling: Mark the locations where the wall will be attached to the concrete. Use a hammer drill with a masonry bit to create holes in the concrete at the marked spots.
- Anchoring: Insert anchor sleeves or expansion anchors into the drilled holes. These devices provide a secure connection between the wall and the concrete. Make sure the anchors are properly aligned and flush with the surface.
- Attaching the wall: Position the wall against the concrete and use a drill to insert screws or bolts through the wall and into the anchor sleeves or expansion anchors. Tighten the screws or bolts securely to hold the wall in place.
- Finishing touches: Fill any gaps or cracks between the wall and concrete using an appropriate sealant or caulk. This helps to prevent moisture or air leakage.
It is crucial to follow the manufacturer’s instructions for the specific materials and tools used in the process. Consulting a professional or contractor experienced in basement wall installation is recommended to ensure proper and safe attachment.
How Do You Attach a Frame To a Basement Wall?
Attaching a frame to a basement wall requires careful planning and execution to ensure stability and structural integrity. The process typically involves the following steps:
- Preparation: Clean the basement wall surface and remove any obstructions. Identify the locations where the frame will be attached to the wall.
- Marking and measuring: Use a tape measure and level to mark the positions of the frame on the wall. Take accurate measurements to ensure proper alignment.
- Drilling: Use a hammer drill with a masonry bit to create pilot holes in the marked spots on the basement wall. The size of the drill bit should match the size of the screws or anchors that will be used.
- Installing anchors or screws: Insert appropriate anchors or screws into the pilot holes. Expansion anchors or concrete screws are commonly used. Ensure that the anchors or screws are securely fastened to the wall.
- Attaching the frame: Position the frame against the basement wall, aligning it with the installed anchors or screws. Use a drill or screwdriver to drive screws through the frame and into the anchors or screws in the wall. Make sure the frame is level and tightly secured.
- Finishing touches: Check the stability of the attached frame. If necessary, reinforce it with additional screws or anchors for added support. Fill any gaps or cracks between the frame and the wall with caulk or sealant for a neat appearance.
Always follow the manufacturer’s instructions for the specific materials and tools used in the process. Seeking assistance from a professional or experienced contractor is advisable to ensure a secure and reliable attachment of the frame to the basement wall.
What Is The Best Material To Frame A Basement?
When it comes to framing a basement, several materials can be used, each with its own advantages and considerations. The best material choice depends on factors such as budget, moisture resistance, insulation properties, and local building codes.
Two commonly used materials for basement framing are wood and metal.
- Wood: Wood framing is a popular choice due to its affordability, ease of installation, and versatility. Pressure-treated lumber is recommended for basement framing as it offers better resistance to moisture and potential termite damage. Wood also provides good insulation properties, reducing heat transfer.
- Metal: Steel or metal studs are another option for basement framing. They are durable, non-combustible, and resistant to moisture, mold, and pests. Metal framing is straight and lightweight, making it easier to work with. However, it may require special tools and expertise for installation.
It’s important to consider the basement’s moisture levels and any potential water issues. In areas prone to high humidity or moisture, using moisture-resistant materials like pressure-treated wood or metal studs with a moisture barrier can be beneficial.
Consulting with a professional contractor or architect who is familiar with local building codes and conditions can help determine the best material choice for framing your specific basement.
Conclusion
Framing a basement wall against concrete is a fundamental step in finishing or remodeling a basement. By following the expert advice and step-by-step instructions provided in this article, you can frame a basement wall like a pro.
Remember to prioritize structural stability, insulation, and electrical considerations for a functional and comfortable basement space.
FAQs On How To Frame a Basement Wall Against Concrete
Q. Can I frame a basement wall on my own?
Yes, with the right tools and instructions, framing a basement wall can be a DIY project. However, it’s crucial to ensure proper structural support and compliance with building codes.
Q. Do I need a permit to frame a basement wall?
Building permits may be required for framing a basement wall, depending on your location and local regulations. Check with your local building authority to determine if a permit is necessary.
Q. What type of insulation should I use for the basement wall?
It’s recommended to use insulation specifically designed for basements, such as rigid foam insulation. This type of insulation provides excellent moisture resistance and thermal performance.
Q. Can I install electrical outlets and switches myself?
While it’s possible to install electrical outlets and switches as a DIY project, it’s recommended to consult a licensed electrician for proper installation and compliance with electrical codes.
Q. Do I need to hire a professional for drywall installation?
Drywall installation can be done by a DIY enthusiast with the right tools and techniques. However, for a flawless finish, it’s advisable to hire a professional drywall installer.
Read More:10 Essential Home Furniture for a Stylish Living Space